Adding clusters
Kubby connects to clusters with kubeconfig files. You can paste a kubeconfig, import a folder, or let Kubby watch folders continuously.
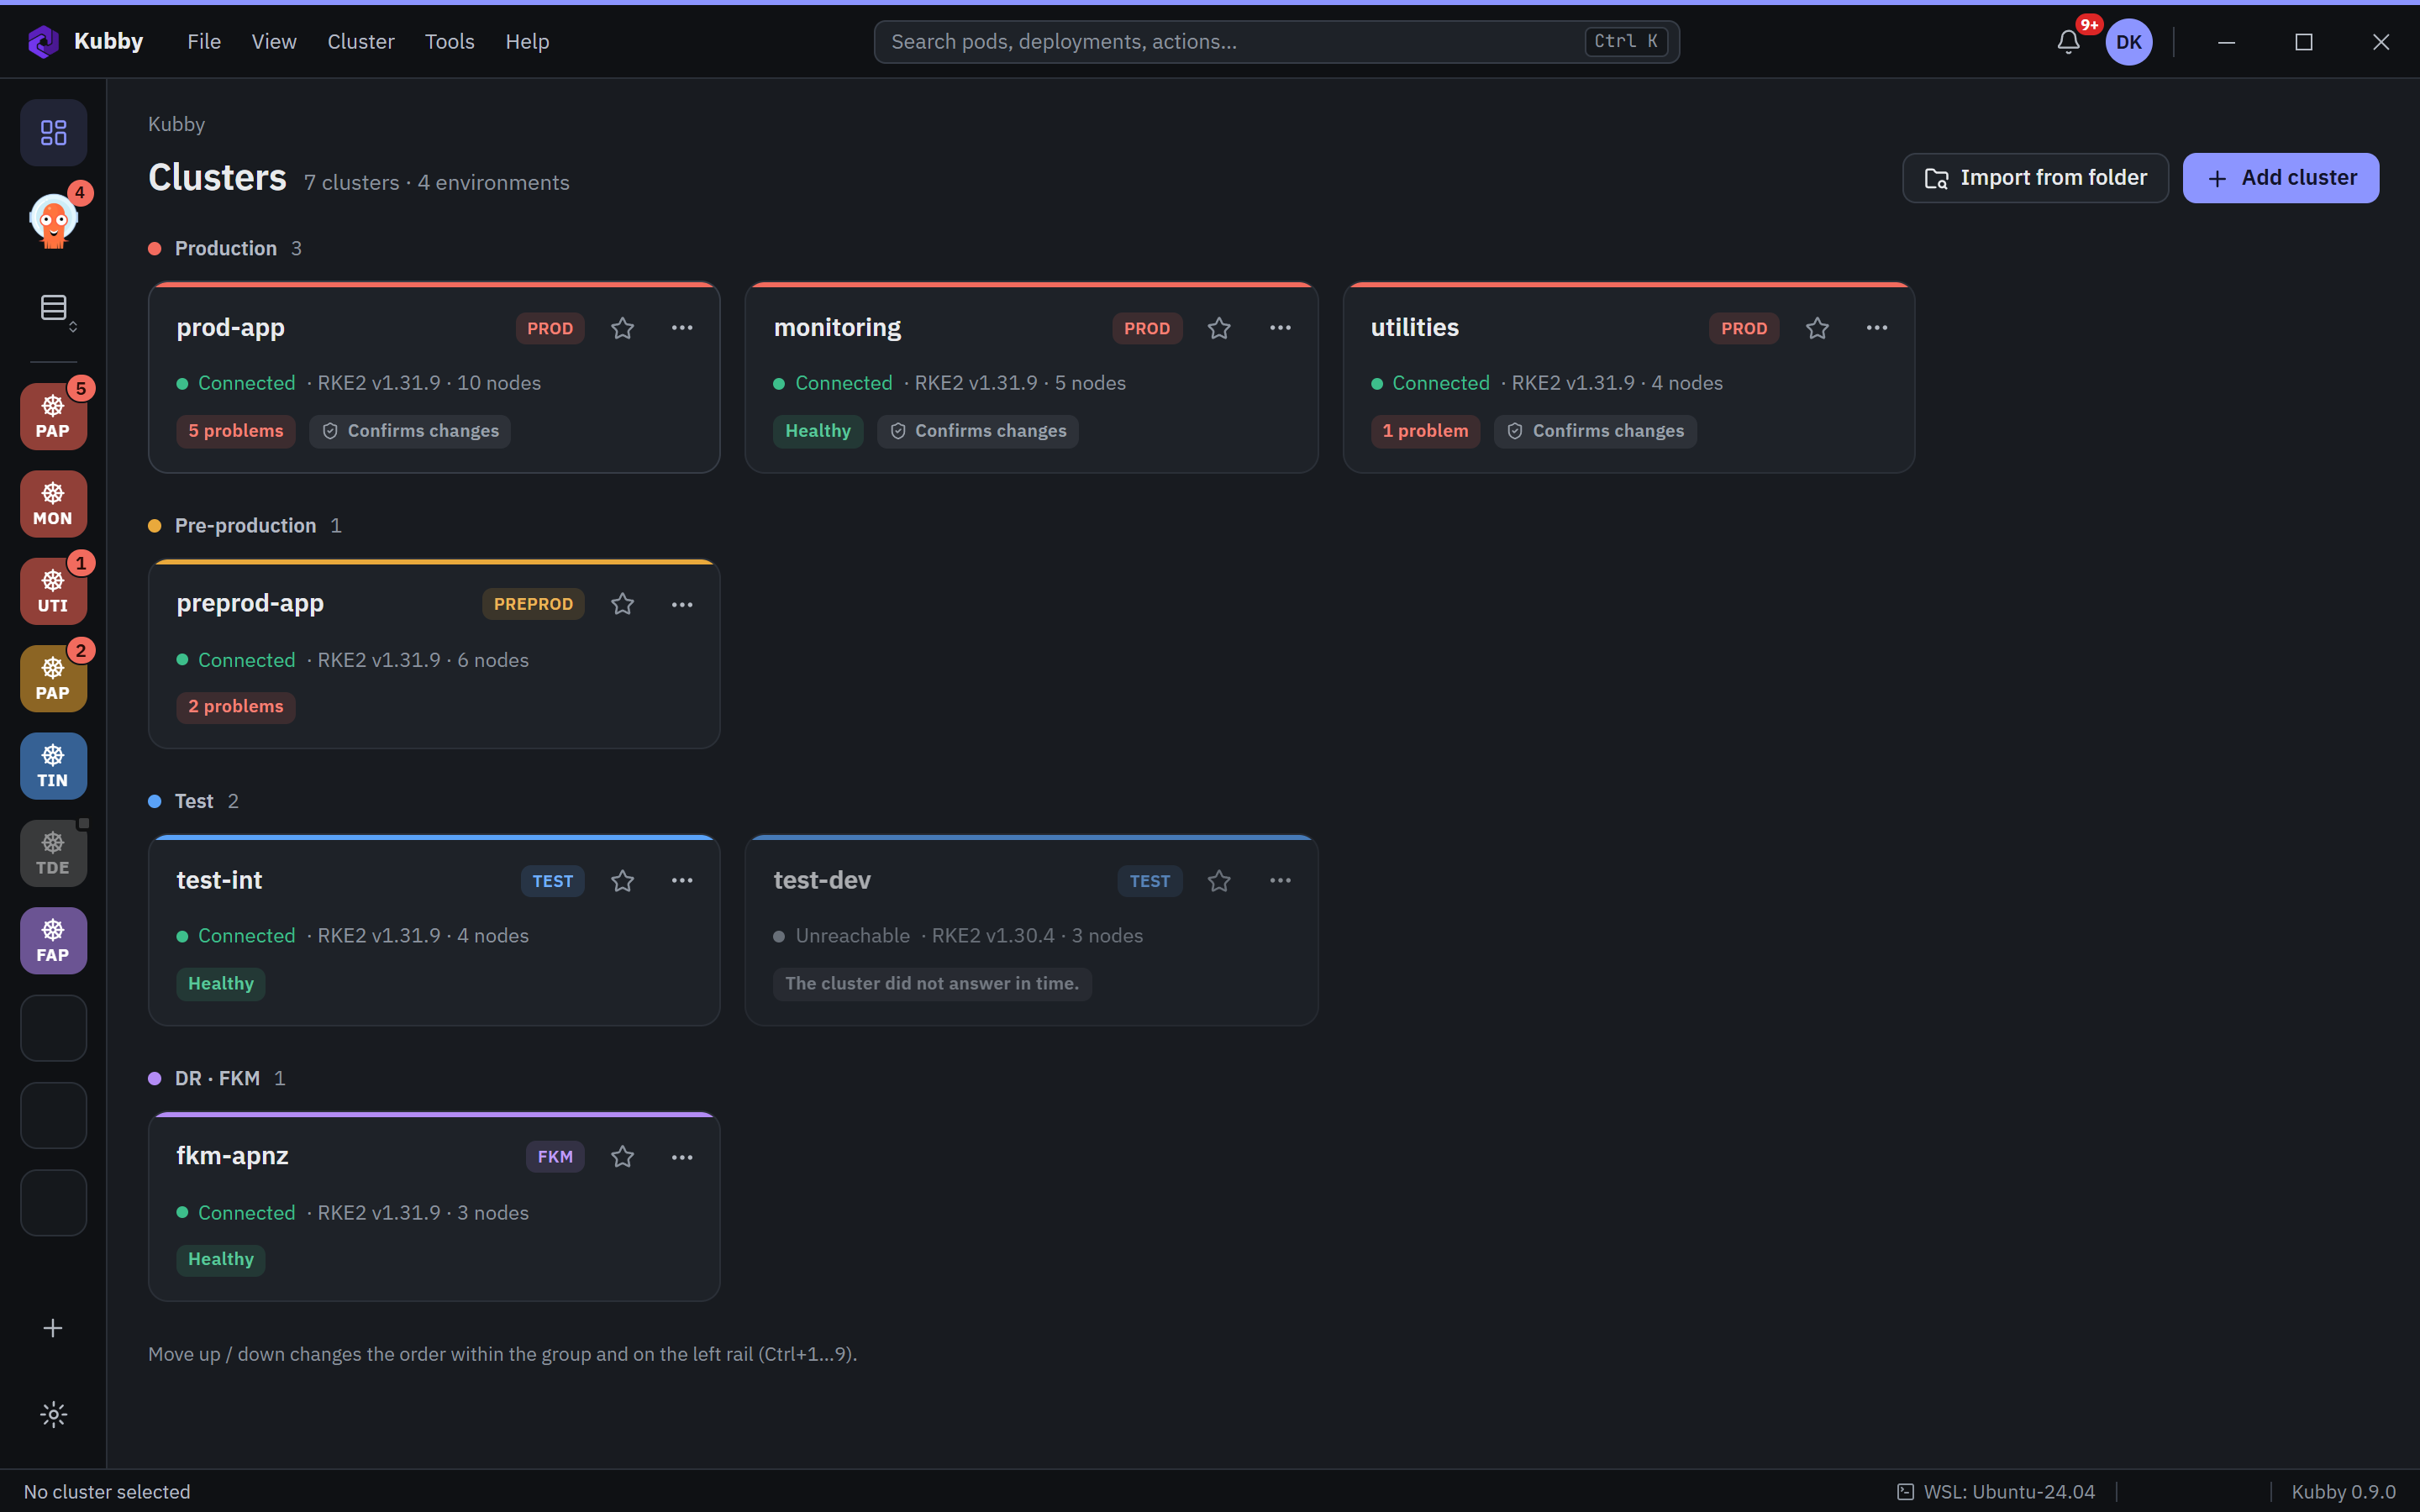
Paste a kubeconfig
- Click + in the cluster bar or Add cluster on the Clusters page.
- Paste the kubeconfig. If it has several contexts, pick the ones to add.
- Try the connection with Test connection. Kubby shows the version and the node count.
- Choose an environment (PROD, PREPROD, TEST or one of your own) and add it.
Import a folder
Import from folder on the Clusters page imports every kubeconfig in a folder at once. To keep kubeconfig files in sync continuously, add sync files and folders in Preferences → Kubernetes.
Environments and PROD protection
Every cluster belongs to an environment. Its colour shows in the strip at the top of the window, in the cluster bar and in labels, so you always know which cluster you are in.
In protected environments (PROD by default) every action that changes a resource is confirmed by typing the cluster name. Define your own environments with New environment under Preferences → Cluster bar → Groups and choose whether they are protected. Actions and PROD protection
Cluster bar and groups
The cluster bar on the left shows your clusters by their short names. Drag tiles to reorder or group them; right-click to change colour and appearance. Switch to the first nine clusters with Ctrl+1 … 9.
%APPDATA%\Kubby\kubeconfigs, in your Windows profile, like Lens does. Kubby opens a cluster only after you sign in to your Kubby account, and tokens never reach the application logs.